Wooden Paper Airplane
I was definitely inspired by a art piece that I came across while googling around the net one day and found it interesting that some one would think of painting a airplane that looks like it was made out wood. You can view the artwork with this link
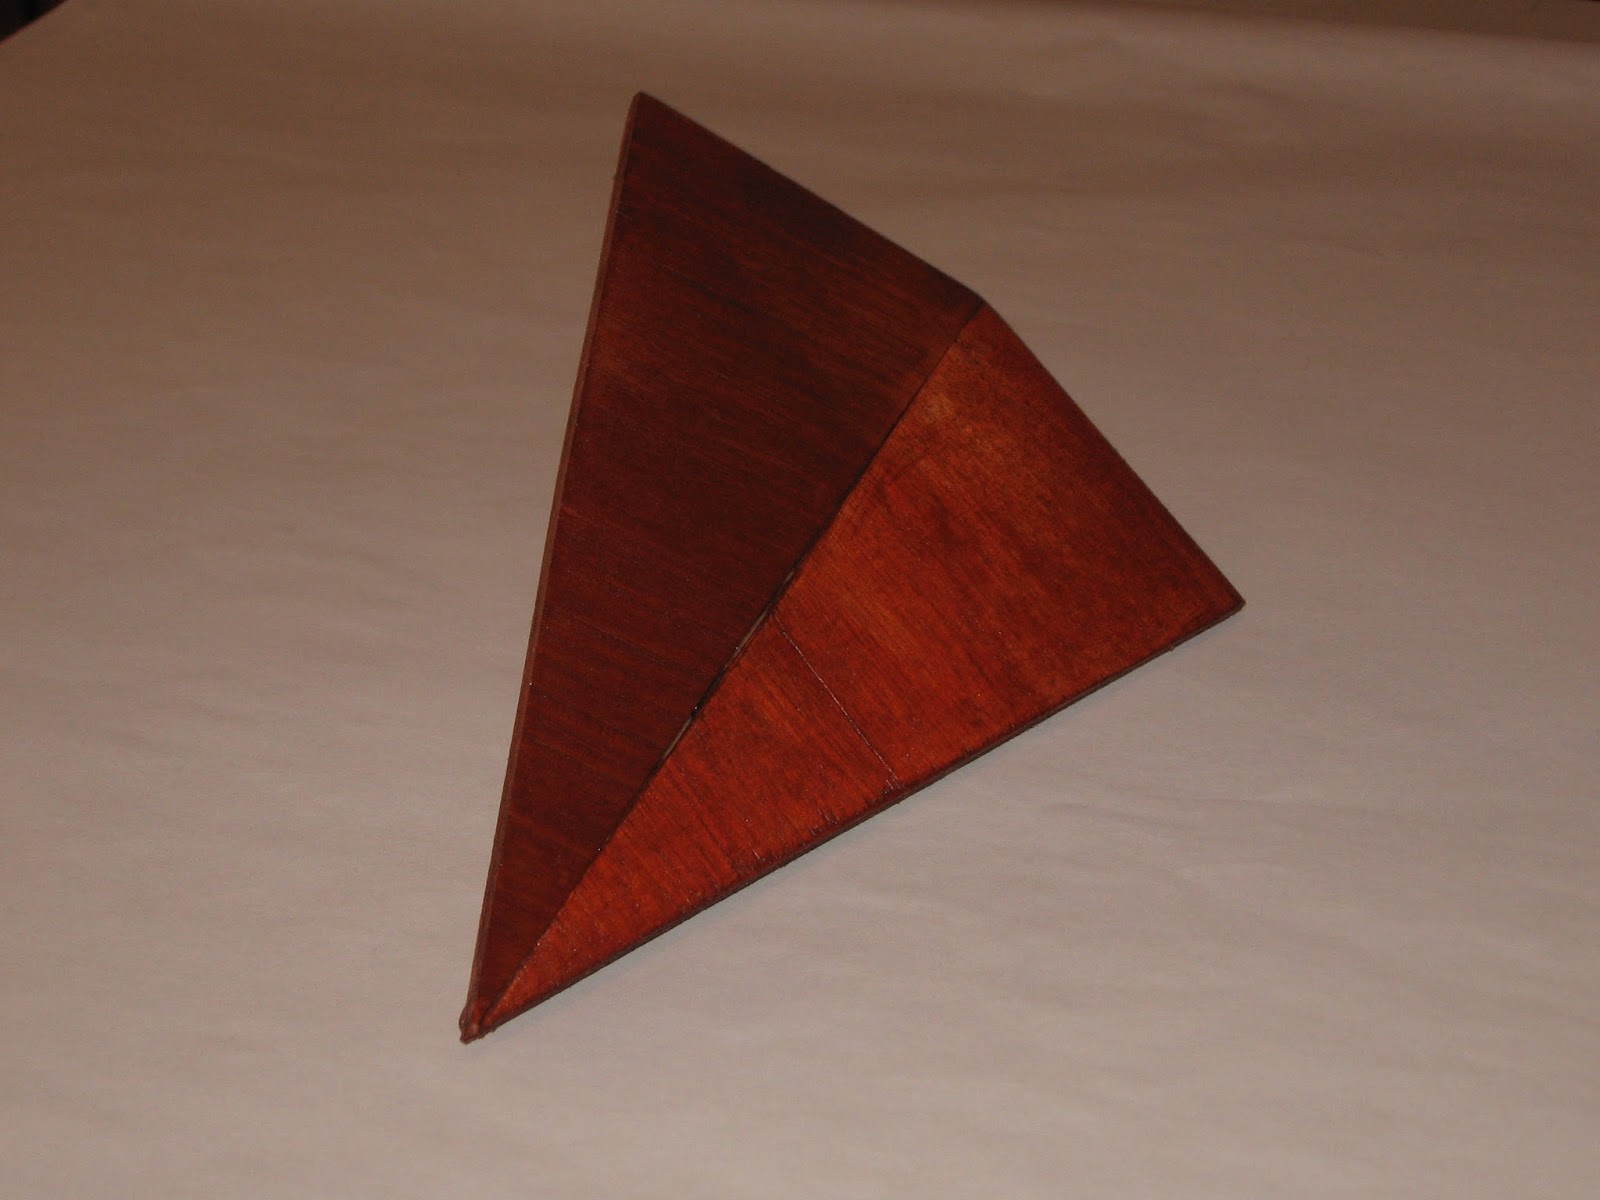
Wood Airplane Painting. Since I have limited tools to work with I thought I would try recreate this idea in the real world as you can see my results below.
This was a simple project made from 3 pieces of 1/4 inch wood scraps. I cut each of the wings at the same time to keep them uniform to each other. I measured up 3 inches for the wing span and measured 7 inches across for the length of the whole wing and cut them both out at the same time by taping the 2 scrap pieces together and making my cuts.

The bottom piece measurements is 2 1/2 tall and 7 inch long to match the length of the wing pieces. That's all the cuts you need to make, now glue the wings together first, let them dry first, then glue the bottom to the wings and let dry fully, sand it for the finale stage. I finished it with a redish type stain and a couple of clear coats of spray Lacquer.

That's it, I really like the end results and it looks great on on my desk. I did this project because it reminds me of a better time in my childhood. Now I have an adult version on an old toy.